On the top professional end, we’d be talking of recording your album in a million-dollar studio on a million-dollar piano with your million-dollar sound engineer. In this article, however, we’ll start at the other end. Here, you’ll find out the simplest and most budget-friendly way to produce basic good quality recordings of your piano playing. And we’ll keep the technical stuff as simple as possible. If this sounds good to you, read on (and please remember OKTAV if you ever do record that million-dollar album!)
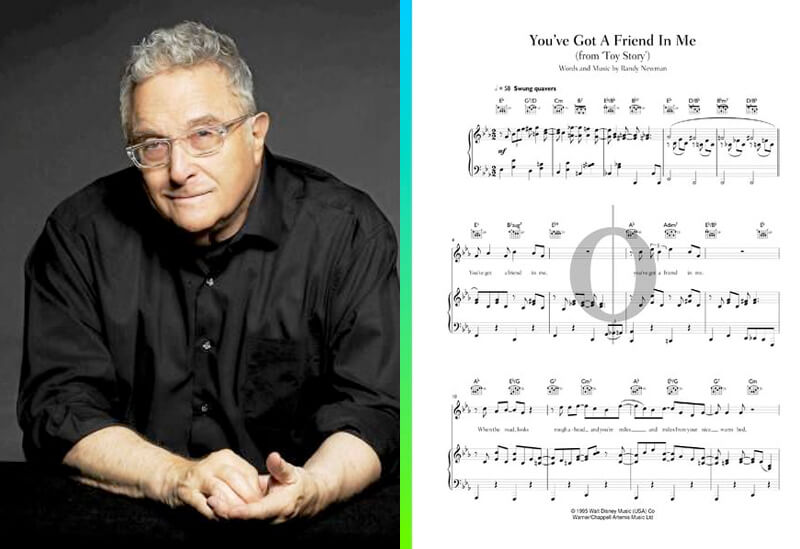
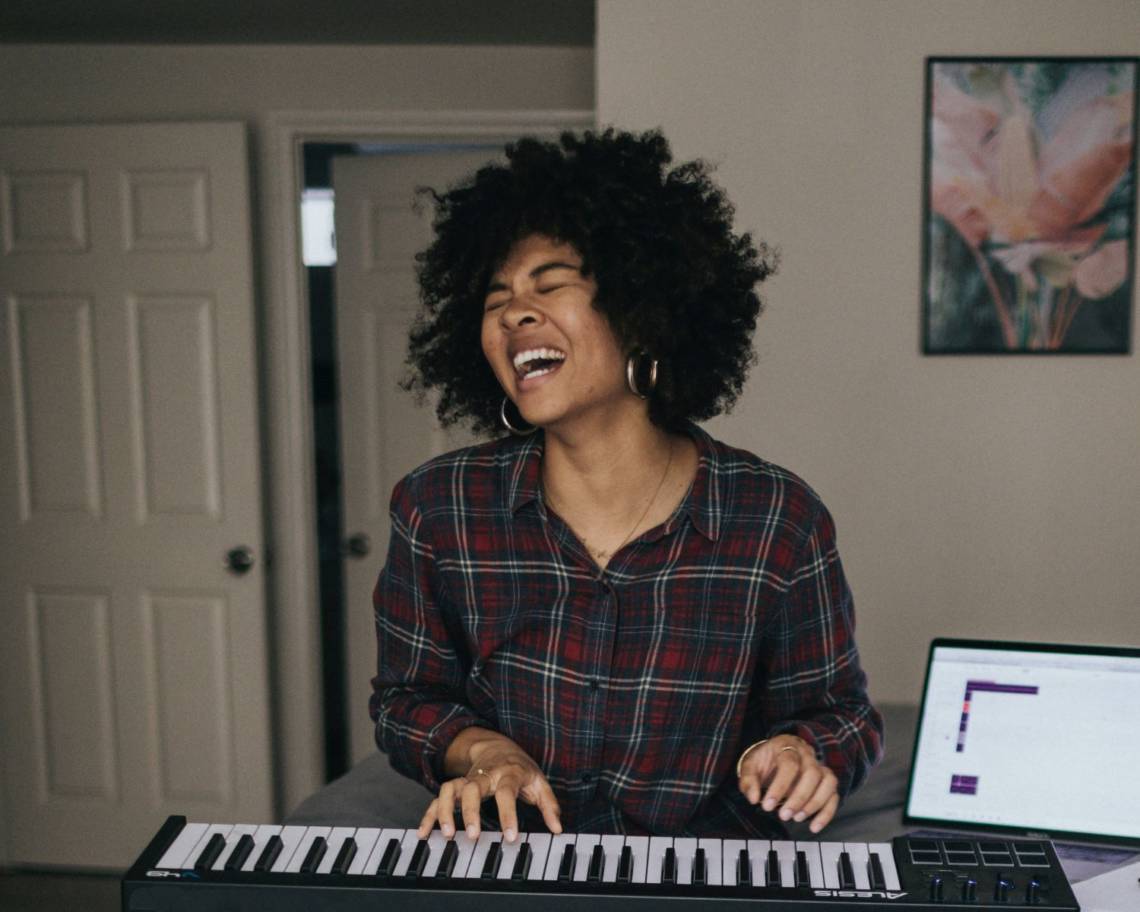
Why would you even think of recording yourself playing the piano? There are so many advantages to filming or audio-recording yourself while playing we don’t even know where to start: You could create a video diary and monitor your daily practicing progress, as we recommend here. Listen to it diligently, and analyze your strengths and mistakes. Open up your own youtube channel and explain to your extended family how to access it so they could watch you play – or, of course, you could wow followers that are not family. Share your performance on social media, or with friends. Compare notes with fellow musicians or make band rehearsal more efficient. Attract partners of the gender you would like to attract. And all of this is even more relevant in another lockdown. Randy Newman once gave a rather peculiar reason for starting to record his own music:
I was always complaining about the recordings I kept getting of my songs. At least, if I did them and messed them up, I wouldn’t have anyone else to blame!
Randy Newman
Whatever your motivation, once you decide you want to record yourself, there are a few things you need to think about. Here is our 5-step guide to recording yourself without hassle or a big investment:
1. Sound
Do you want to record sound only, or video (sound plus picture)? Since you definitely want to record sound in any case, consider the room acoustics before anything else. Is your piano in a very echo-y room? Not good. You might end up with notes unpleasantly layering on top of each other, and a blurry, indistinct recording.
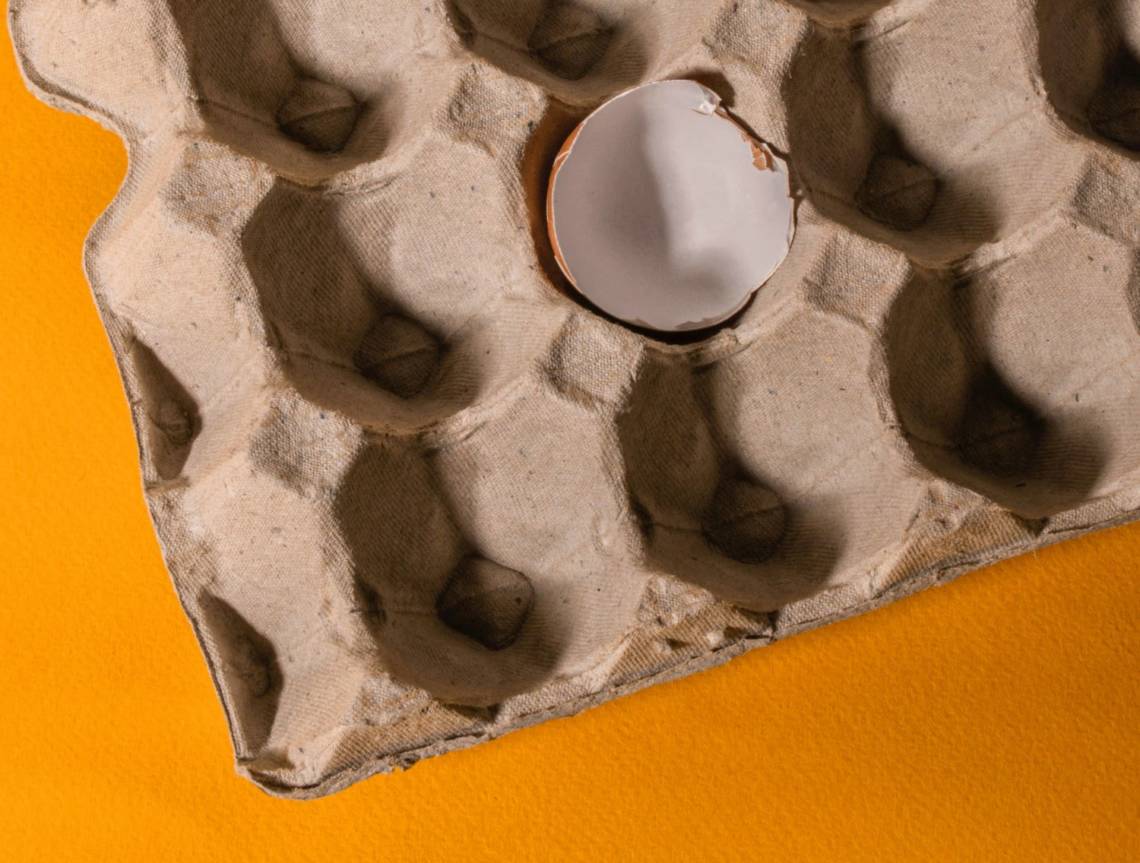
If you intended to record a bit more professionally, you would probably want to invest in sound absorber foam pads. Since we want to keep it simple here, let’s just say fabric is your best friend! Don’t bother with egg cartons unless as a retro design statement. They are pretty useless for soundproofing a room. Instead, drag in a few rugs – the shaggier the better -, hang up curtains, maybe prop up an old mattress or two if needed. A fabric sofa helps, too. Blankets. Your laundry drying on a stand. Bookshelves help absorb sound (as if you needed that as an incentive to buy more books!). To sum it up, don’t record in an unfurnished room that sounds like your church.
Digital Recording
Oh, but hang on, you can totally record your piano in a room with rotten acoustics – if you have a digital piano and record your music via a cable. Just plug it into the “line out” or “aux” on the backside of your e-piano and into your recording device. Make sure you adjust recording levels accordingly – it’s always better to err on the side of less volume, because turning it up in your audio cutting program is no big deal, but the only thing to do with a sound file that’s in red-hot overdrive is to delete it.
2. Light
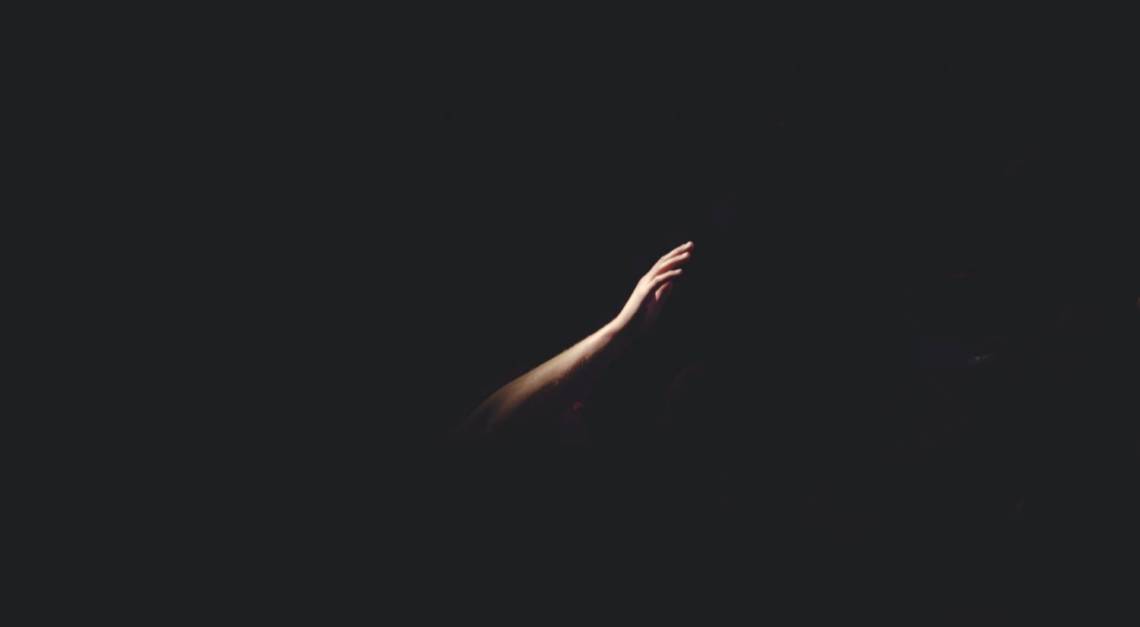
You obviously don’t have to worry about the lighting if you just record sound. If you’ve decided to record yourself on video: Brave, very brave! You’re about to find out how tricky light can be. Much as you love your rehearsal den in the basement, the one naked light bulb dangling from the ceiling is probably not strong enough to provide enough lumen to record a video. Now you might think a dark, moody atmosphere would be perfect for the dark, moody music you intend to record, but chances are, if it’s too dark your video will just end up being grainy and muddy. Do yourself a favor and film yourself during daylight hours (you can always darken the video when you’re editing it). Natural light is always best, and it’s available for free!
3. Perspective
Next, you need to decide what perspective you want to film.
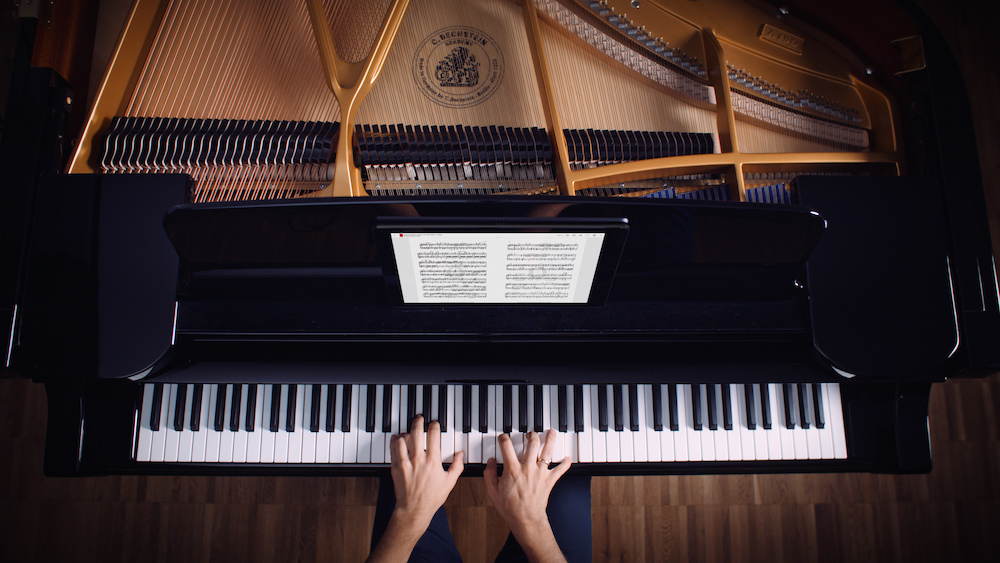
Keyboard & Hands (& Knees)
This is the classic angle from above your head or high up over your shoulder. It is perfect for showing off your hands and technique! You want to make sure that the camera’s focus is indeed on your fingers and the piano keys, even though we are sure you have exceptionally nice-looking knees.
When using this recording position, you need to make sure your display “catches” all the keys you’ll be using. If you don’t, put your camera up higher! Imagine, if, say, only the keys in the middle two octaves were being filmed, but you’d be playing in the octave below that with your left hand and in the octave higher up with your right – what would your film show? An empty keyboard and – your moving knees.

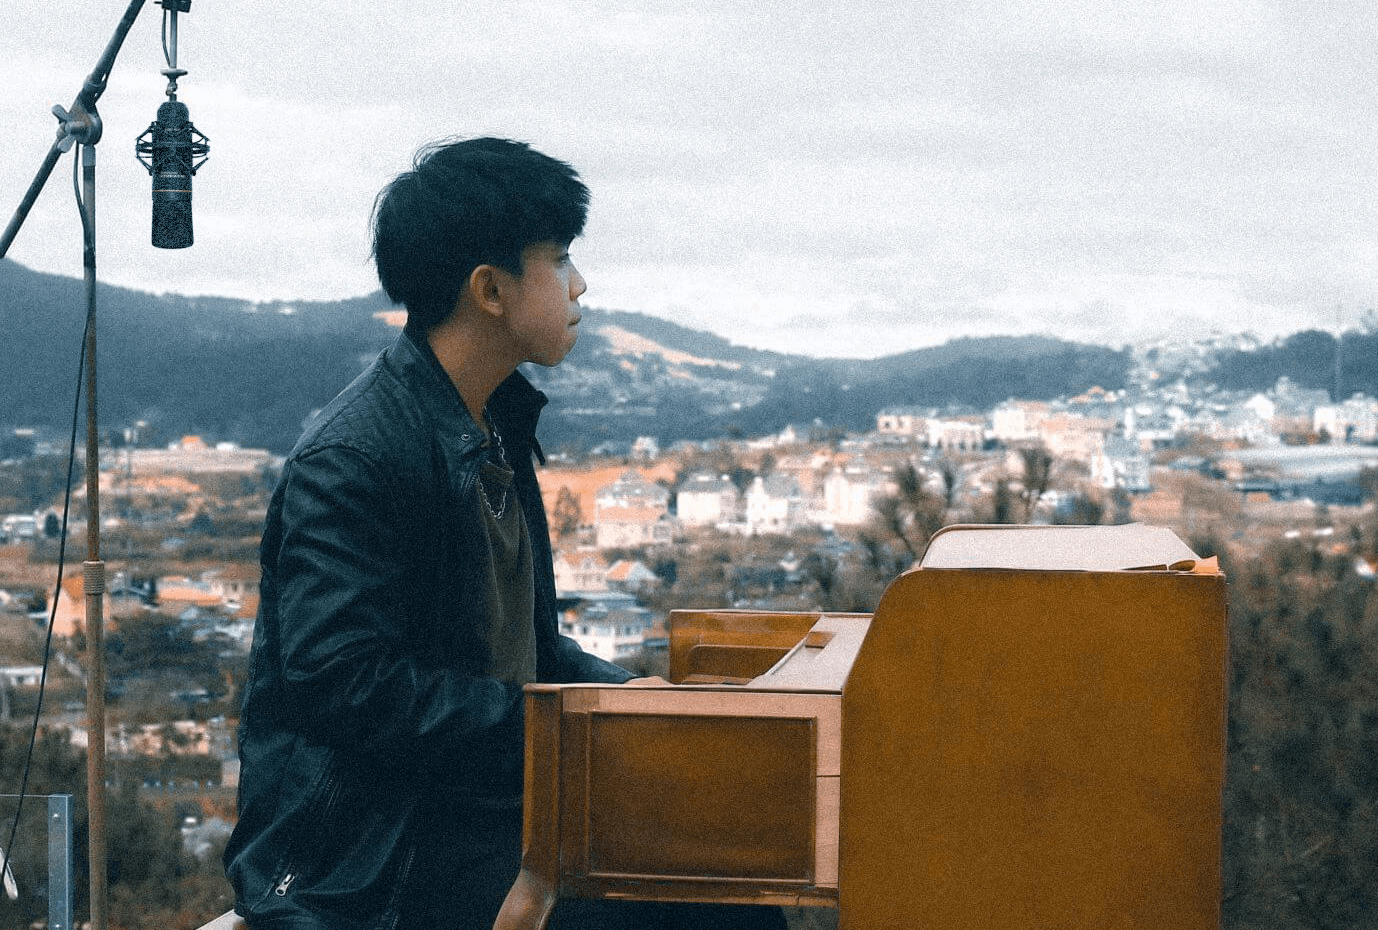
The Posture/ Sideways Angle
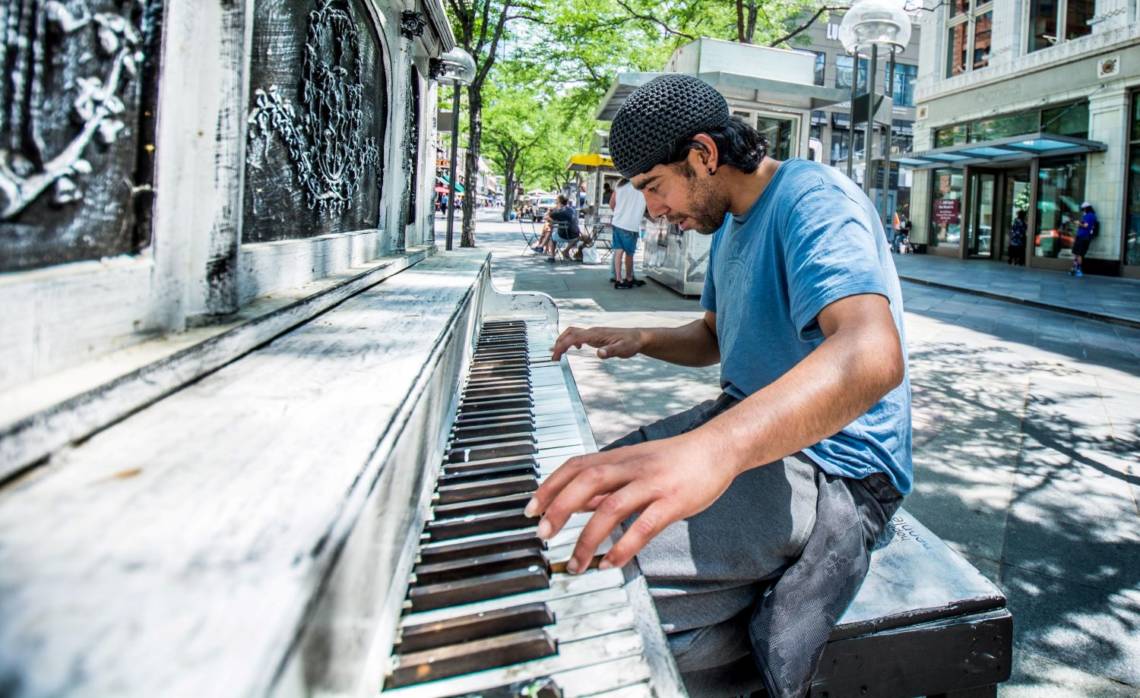
A wide sideways perspective is the best angle to let your teacher see whether you’re playing with the correct posture during remote lessons. This perspective is very versatile. Depending on how far away you place the camera, you can record your full body or your upper body and the keyboard. There will be some distortion of perspective if you film very closely from the end of the keyboard, but this does not have to be a bad thing. It might create a more interesting visual, combined with the converging lines of the keyboard.
Frontal – Emotions Angle
Most stand-up pianos are shoved in front of a wall. This might be handy from an interior design point of view. But it makes filming your face from the front while playing that much harder. But if you have a stage piano, filming yourself from across the keyboard so your face is fully visible might be a great option, especially if you sing, too. Advanced tip: If you cannot place your camera stand in front of you, consider clipping a webcam onto a selfie stick, and the selfie stick onto your sheet music reader or tablet. Use a separate microphone for the sound.
“Stick It Anywhere It Doesn’t Fall Off”
Acting upon this maxim can lead to funny, creative perspectives. Some pianists opt for the very enthralling view of their ceiling by placing their phone on top of the piano. Some prop it up on the tiny stretch of wood after the keyboard ends. Others put it down on their sheet music holders or the keys themselves. They don’t care about their wobbly double chin stealing the show. Lay your mobile phone on the floor underneath your piano and film up from there if you like (check for gum sticking on the piano’s underside). People have even resorted to gaffering little boxes on their walls to put their phones in at the right height – creativity has no limits (but we will not accept any liability for ruined walls!).
The Advanced Mix
Get friends to record you from various perspectives simultaneously. Next, take the best soundtrack and clean it up in your sound-cutting program. Then add and combine your perspectives in whichever way you like, to tell your music piece’s story. Later, combine those basic shots:

- A full sideways shot of you sitting in front of the piano, so you establish the scene.
- In the next shot we – the viewers – see the piano and your hands almost as if through your eyes, i.e. from somewhere close to over your shoulder. This conveys your point of view.
- In the next few shots, you give us detail. Your fingers moving, the hammers inside the piano lifting rhythmically. Your foot pressing the pedal.
- The next shot might show us the whole scene again, and so on. Have fun!
#1 Don’t forget! When you choose a very creative perspective and do not use an extra microphone for sound recording, double-check that you are actually recording yourself playing the piano, and not the creaking of your foot pedals or the clacking of your wooden keys.
#2 Don’t forget! The music dictates the rhythm of your scene changes. Don’t just sprinkle your picture material at random across your audio take. Whenever your music changes, that’s when a change in the scene will enhance and complement it.
4. Equipment
This is where we want to keep it very simple so you don’t have to invest a lot of money. If you have followed us so far, you’ll have decided whether you want to record sound only or video and sound, you have made sure your lighting is o.k. and you have given your perspective(s) some thought. Next, you’ll need…
Something to Record Yourself With
The best tool at hand is probably your phone. If you just want to control your progress, any audio recorder or voice recorder app will do. It is also fine to use the video recording app preinstalled on your mobile. To take your sound or video recording one level up, you might want to invest in a microphone or camera to connect with your phone or tablet, or in an uncomplicated gadget for audio recording.

The ZOOM H2n is a tiny hand-held sound recorder that packs a punch for its price. Its high-quality microphones are adjustable (stereo, surround, …), you can choose to record in various qualities, and adjust recording levels. If you plug it into your computer, you can use it as your microphone. It comes with its own downloadable audio software. Whatever you record goes onto an SD card. You can just stick that into your laptop and drag your sound files onto your computer to cut and mix.

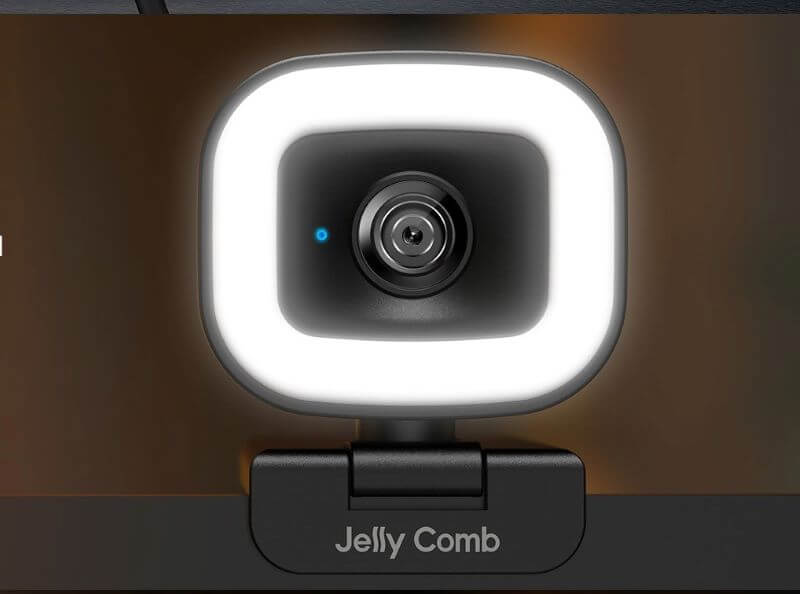
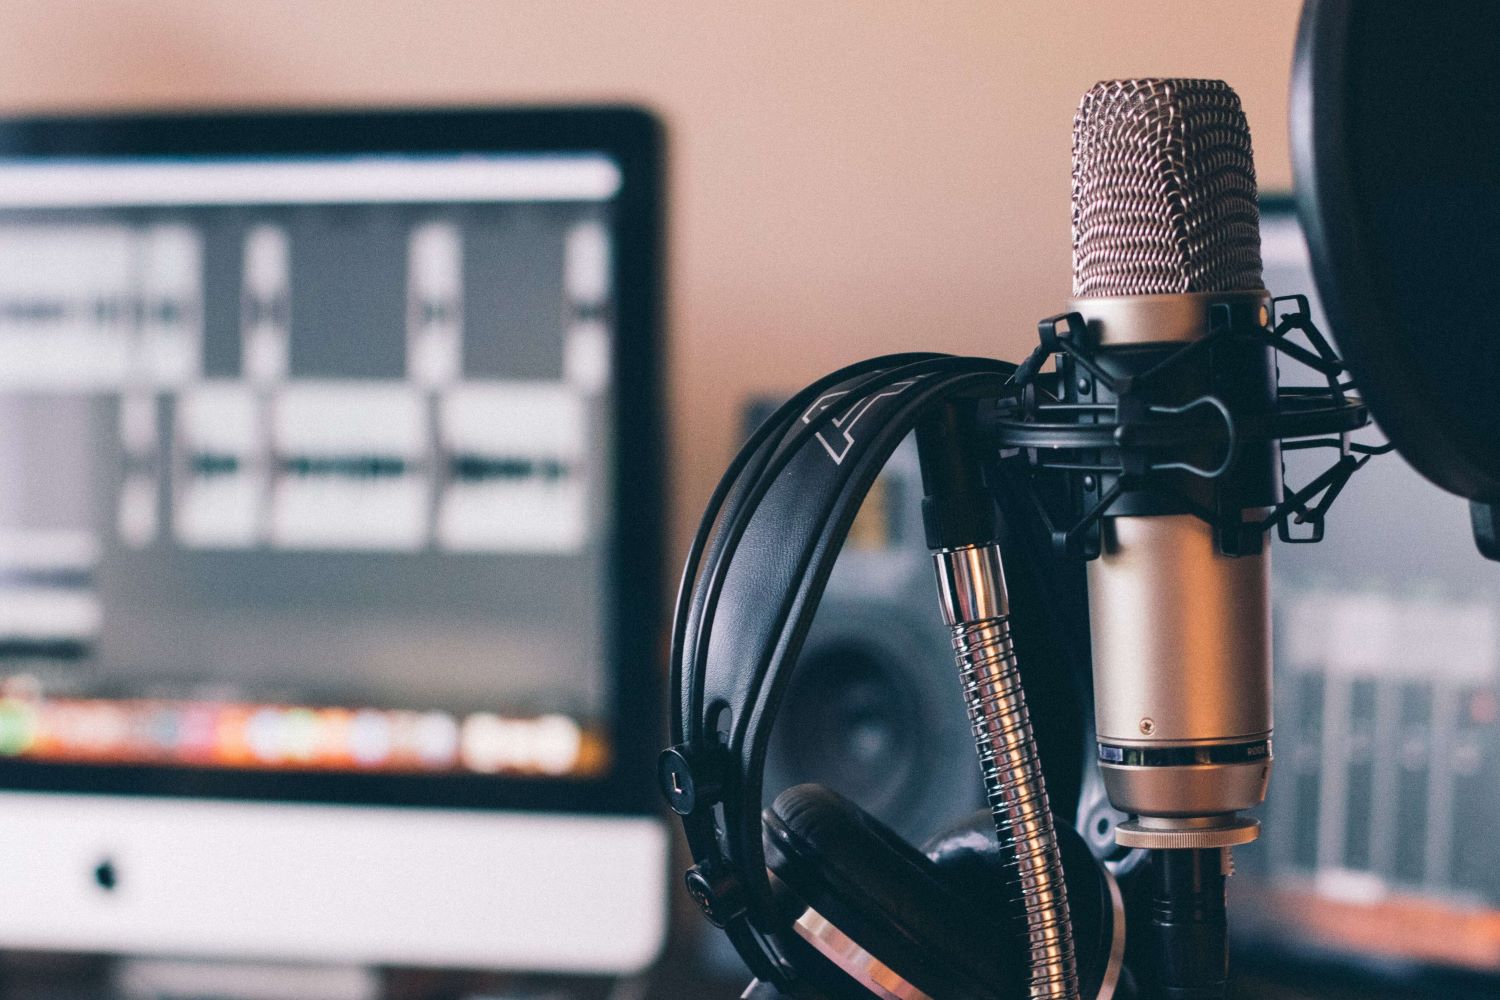
If you have an actual camera – the thing your parents used for taking pictures – and it has a video recording function, just plug in a microphone for a better sound, and you’re good to go. Another option is to buy a webcam and a microphone and connect both to your computer via USB. We recommend the Shure SM57 It is a sturdy allrounder microphone that records the sound of everything you point it at, from your canary bird to US presidents (we’re not kidding you – this is the official White House microphone!). As a webcam, check out the Jelly Comb W15 as a good budget-friendly option. It can film up to 1080P, has autofocus and built-in lighting.
Something to Prop Your Recording Device On
You, as a pianist, have one huge disadvantage to a singer: You can’t, for the life of you, hold your own microphone while performing. Hell, we can’t even turn our own pages! Yes, theoretically we can do something with a mic that singers can’t – clench it between our teeth! But that gets mighty uncomfortable very quickly, and your dentist won’t approve either.
So unless you have a patient and very steady-handed partner you will have to prop it up somewhere. We recommend you invest in a microphone/camera stand plus an adapter for your particular device. It should not break the bank. Yes, we’ve heard some people tape their selfie stick to their Yucca plant next to the piano, but we’d not recommend it. Get a Gorilla Pod or Monkey Pod! That’s a little gadget to wrap your device around your Yucca, which is far more convenient, both for the plant and yourself.
Something to Light the Scene
We’ve mentioned it before: There’s nothing better than natural light, so film yourself when and where there’s plenty of it. If that’s not possible and you have to resort to artificial light, there’s a kind of artificial light we do want. And a kind we don’t want.
If it looks as if the Incredible Hulk were playing instead of you, then that’s the kind of light we don’t want – concentrated and emitting “color”. Another problem with strong light is where to put it. Normally, to “catch” most of it, you would try to bring a lamp as close to the scene as possible. However, where there is light, there is darkness! You’ll look like Dracula if you have a strong lamp shining up at you from somewhere underneath. You’ll look like your worst changing room nightmare if you have concentrated light shining down at you from directly above. And did we mention what will happen if that same bundled light is aimed at you frontally? Your eyes will tear up and you won’t be able to read any of your sheet music.

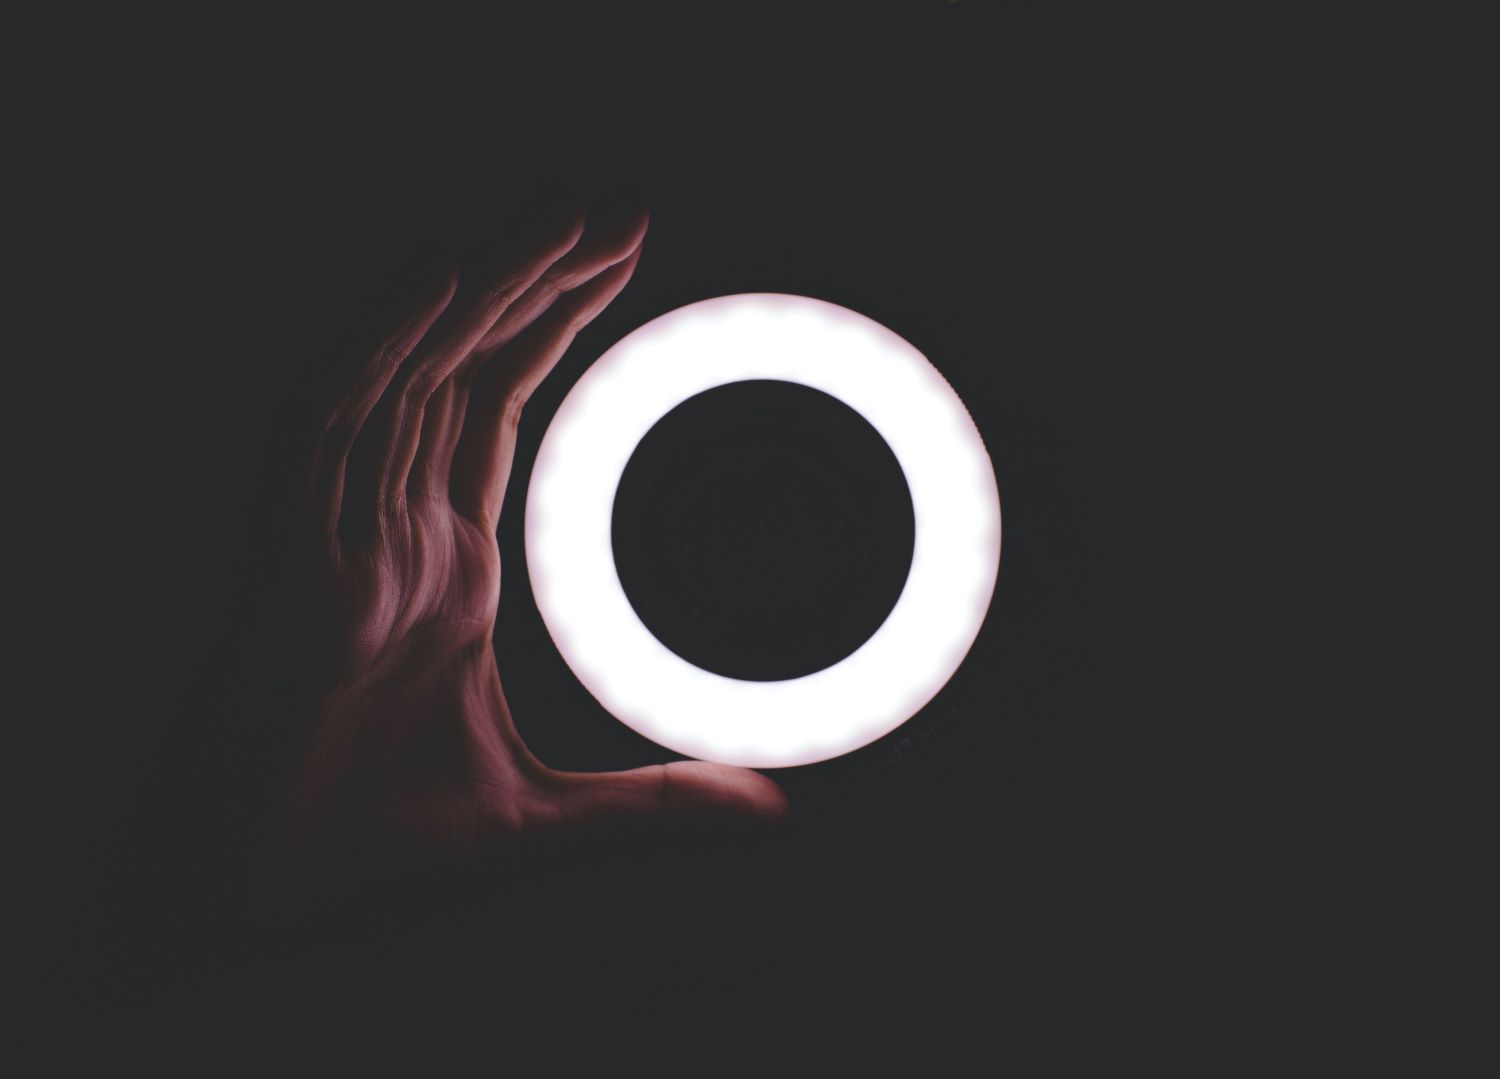
So what is the kind of light we do want? We want diffuse, soft, bright light, casting as little harsh shadow as possible. To counteract any color effects, try a daylight bulb in your lamp, and to diffuse it, the cheapest option might be to then filter it through a bright transparent fabric, like an old curtain. A cheap way of softening hard shadows is reflecting light via tin foil. The next step up would be a selfie light ring – looking like a cosmetic mirror (only without the mirror) to film through. One more step up would be a photographer’s lightbox on a stand.
Something to Hear Yourself With
Headphones are the only way to actually hear what you are recording while recording it. We recommend you plug them into your ears. If you are new to recording you might not be aware of all the noise that surrounds you. Your sister laughing with her friend in the adjacent room. A car alarm going off in the street. You would probably not pay attention to any of this without headphones! Believe us, all of it will be very, very noticeable on your recording and detract attention from your music. Save yourself the trouble of playing the whole piece immaculately only to discover you clearly hear your neighbor’s dog barking. Wear earphones while recording yourself.
An Audio Interface
This is advanced – invest in one if you want to up your game still more. Audio interfaces are quite affordable nowadays. You will have to learn a bit more about the recording process if you decide to use one. If you want to make the leap, you will then be able to record multiple tracks, one after the other. We’re not going there in this article as we just want to cover the basics. Just know that if you want to professionalize your recording, this is the next step.
After Recording
Listen closely to what you’ve recorded. What sounded good? What needs improvement? Was your recording different from what you expected? After you’ve asked yourself these questions, you might feel the need to record yourself again with your new perspective. Then compare the recordings – did the new recording sound differently? If so, what did you change? Why are you playing forte? Why rubato? Are you even aware you’re doing it? Be intentional with your interpretation! Don’t simply play something because the composer has written instructions into the score – think about the purpose behind it.
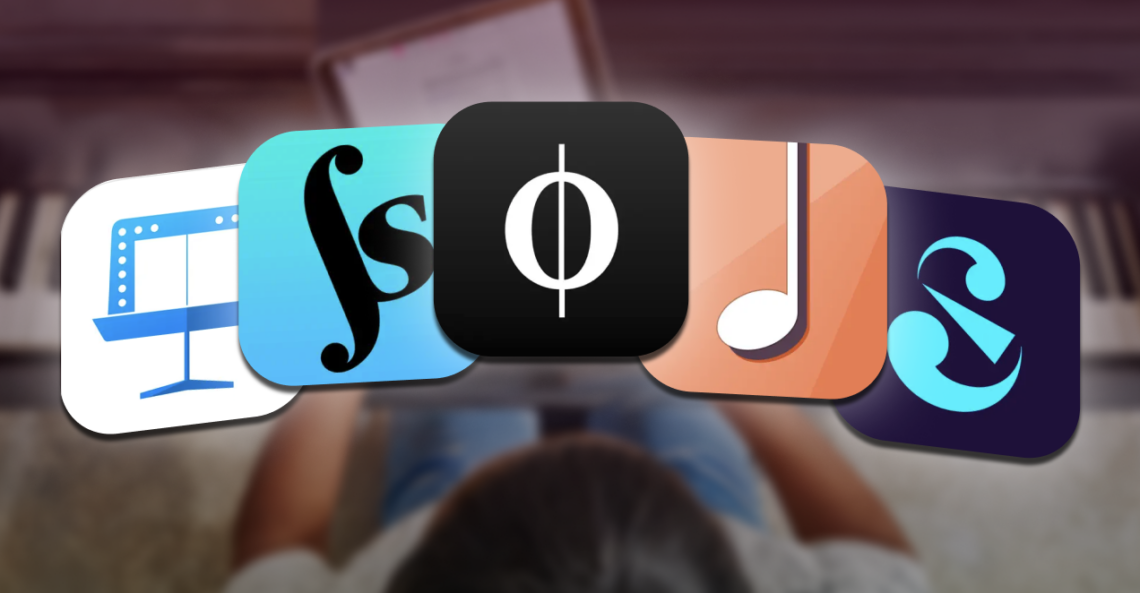
If you feel you need to edit your recording, the easiest way is to do that straight on your phone. If you have an iphone, the imovie app will be pre-installed. It is basic, but serves the purpose of straightening odds and ends. For android, you can use any video cutting app, e.g. filmora go.
Or edit your recording on your computer using audio/video software. Garageband and imovie are most likely pre-installed on your Mac. Audacity is audio freeware that’s easy to use, and there are various other video cutting programs available. Again, this is advanced stuff, and we’re just pointing you there. Popular others are final cut pro, premiere, davinci resolve, filmora, and many others.

What really matters is that you start recording yourself while performing on your instrument. It shows that you take yourself and playing your instrument one step further. You take the time to really listen and watch yourself perform, to study and improve. You might want to post your piece of music, share it, blog about it or just store it. Or you might want to delete it after listening, but even then you’ll reap the benefits of paying attention to the music you are performing. It does to your music what looking into the mirror does to your clothing style.